Oct 13, 2026
Green Bay Hail Damage Roof Replacement: GAF Timberline HDZ in Barkwood



Key Takeaways
|
If you’re planning a roof replacement in Wisconsin, you already know it’s not a small job. Between snow load, ice dams, and freeze-thaw cycles, Wisconsin roofs work harder than roofs in most other states, and the replacement process has to account for that.
This guide walks you through the entire roof replacement process, step by step, so you know exactly what to expect from your first inspection to the final walkthrough. Whether you’re in Madison, Milwaukee, Green Bay, or anywhere in between, here’s what a professional residential roof replacement actually looks like, and why the right roof replacement contractors in Wisconsin plan around our climate, not just a generic checklist.
If your roof is over 20 years old or you’ve noticed curling shingles, granule loss, or daylight through the attic, it’s worth booking an inspection now. Waiting until a leak shows up usually costs more.
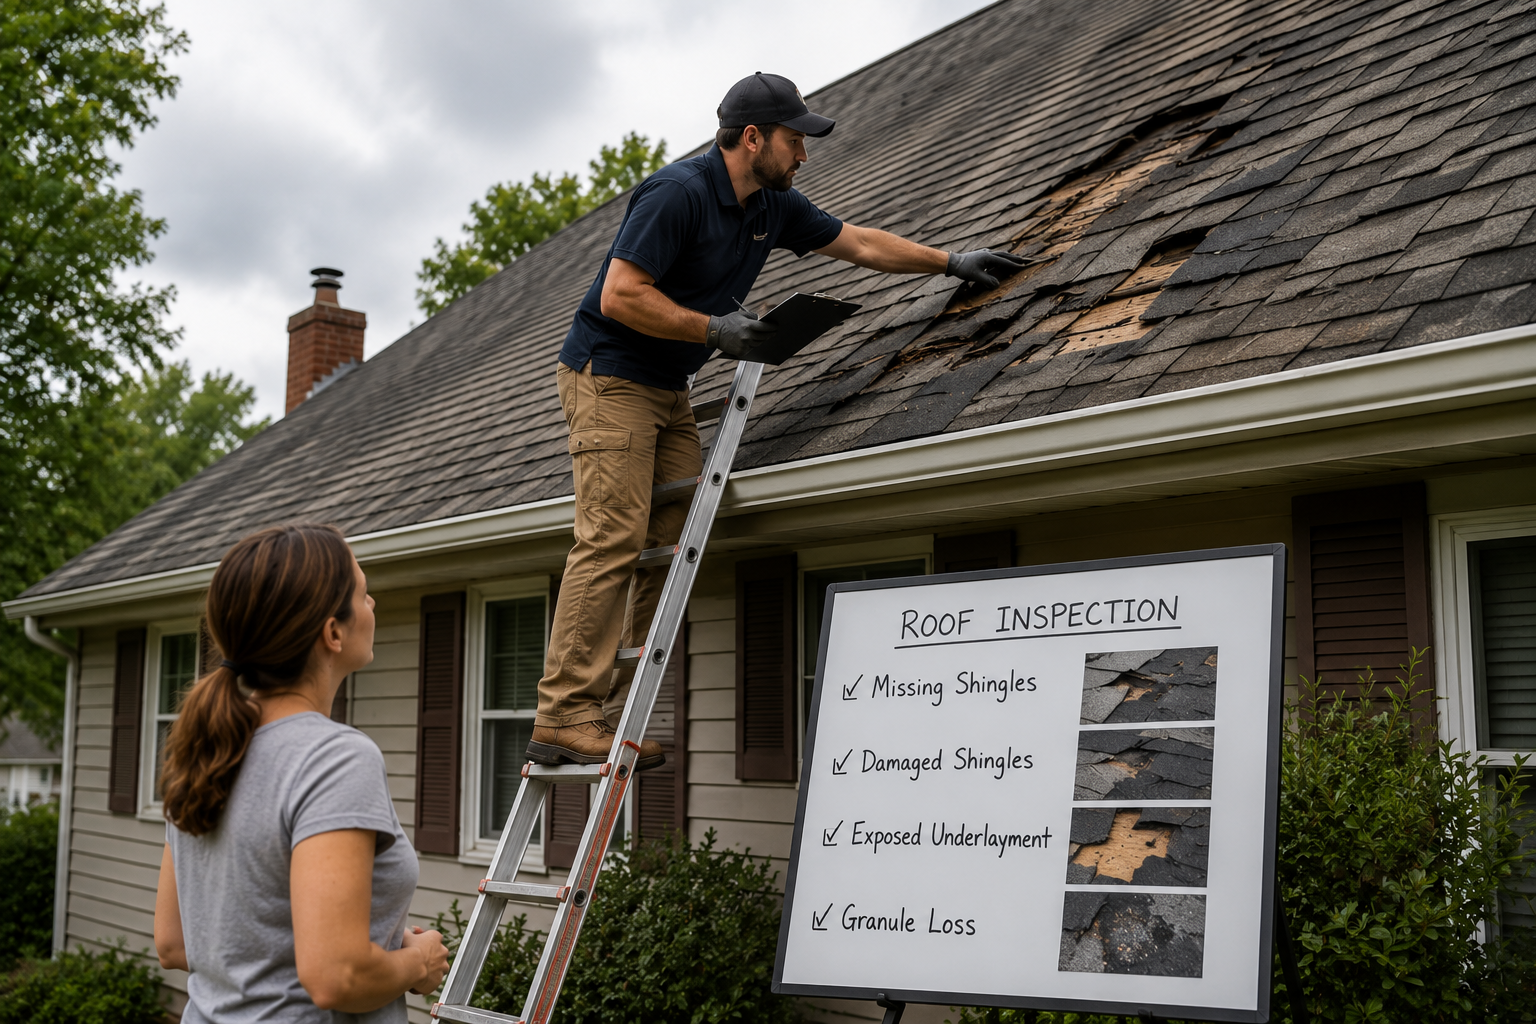
A roof replacement always starts with a full inspection. A trained roofer needs to see the actual condition of your roof before anyone can recommend replacement over repair.
During this visit, expect the inspector to:
Most inspections take 45–90 minutes and shouldn’t cost you anything upfront. A free roof inspection is the right first move if you’re not sure whether you need a repair or a full replacement.
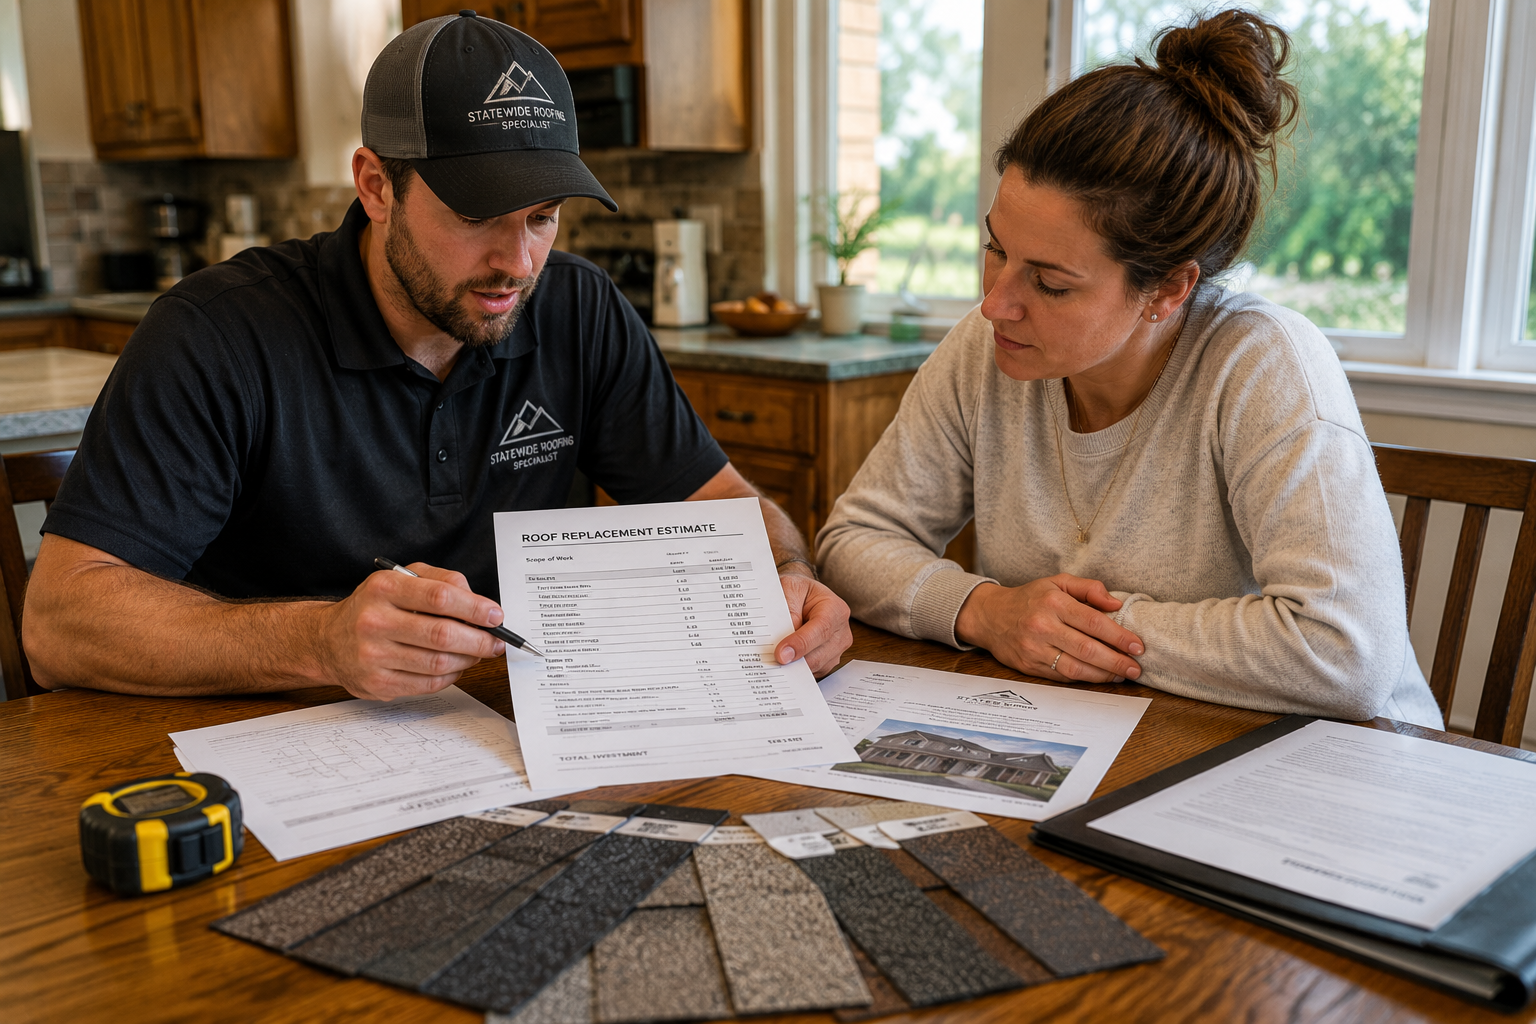
A trustworthy roofer gives you an itemized, written estimate before any work begins. This document should spell out every cost so there are no surprises later.
Your estimate should clearly break down:
Most Wisconsin homeowners spend between $8,500 and $18,000 for a standard asphalt shingle replacement, with the average landing around $12,500 for a typical 1,800–2,200 sq ft home. Premium materials such as metal or synthetic slate can push costs significantly higher.
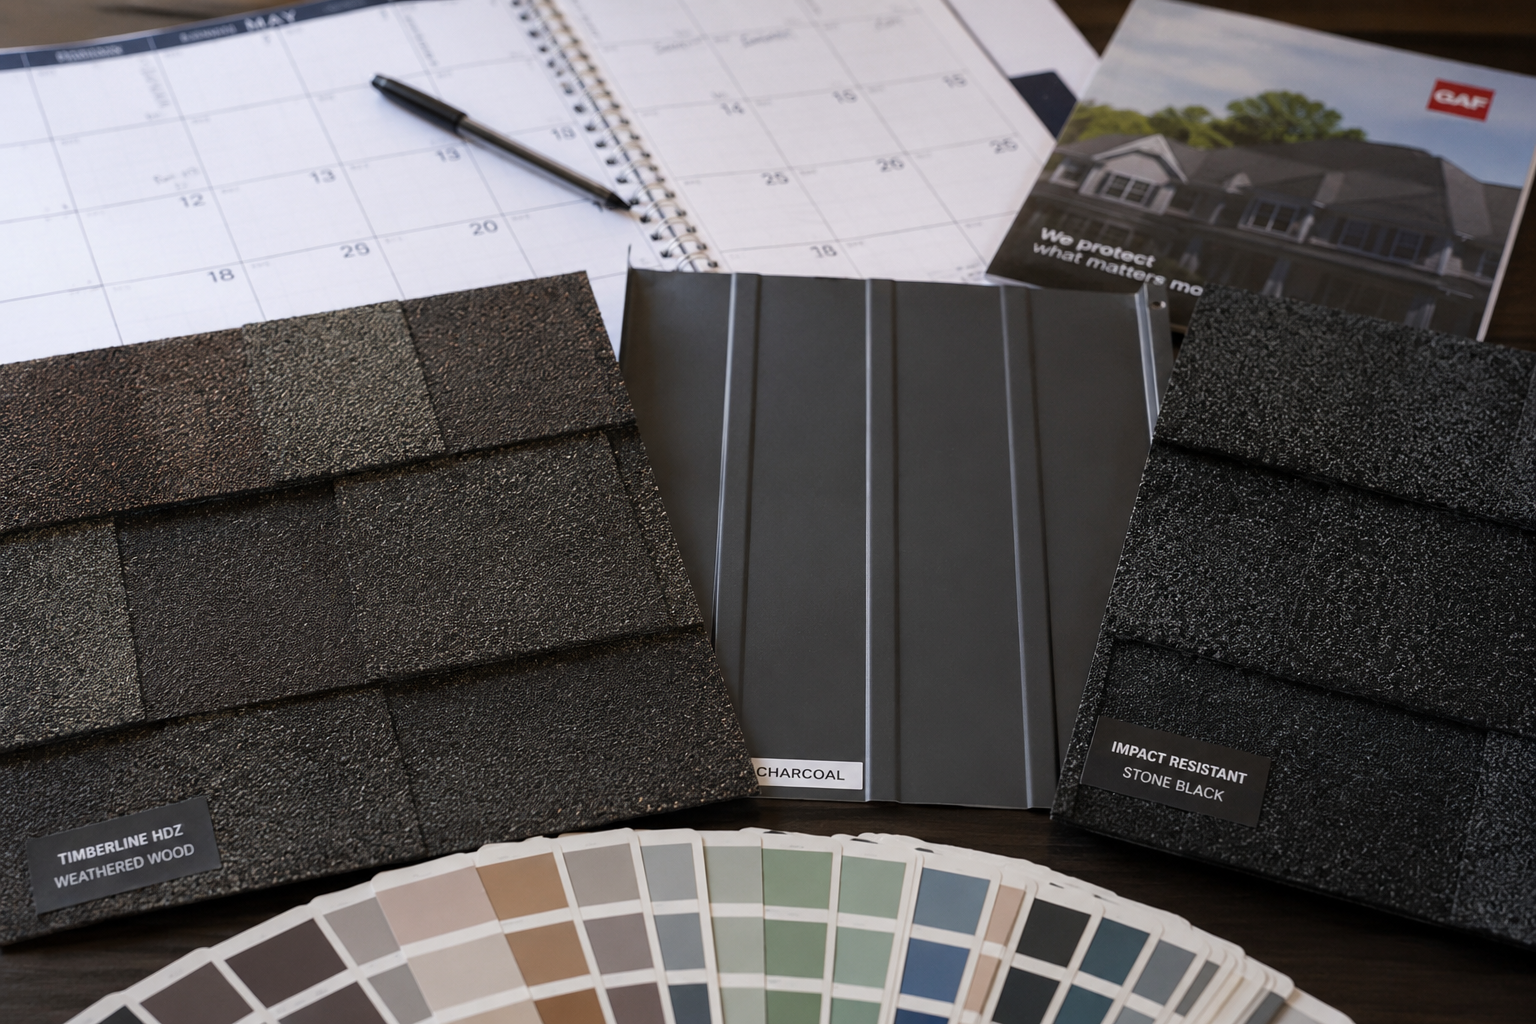
Material choice affects both your budget and how well your roof holds up against Wisconsin winters. Asphalt shingles remain the most common choice, but metal roofing is popular for homeowners who want extra durability against snow and ice.
When choosing materials, consider:
Asphalt shingles typically last 20–30 years in Wisconsin’s climate, while metal roofing can last 40–50 years or more with minimal maintenance. Wood shingles fall in between at 15–30 years but require more upkeep to resist moisture. The right choice depends on your budget, how long you plan to stay in the home, and how much snow load your roof structure can handle.
Once materials are chosen, your contractor schedules the installation date. If financing is a factor, ask about flexible roof financing options before signing.
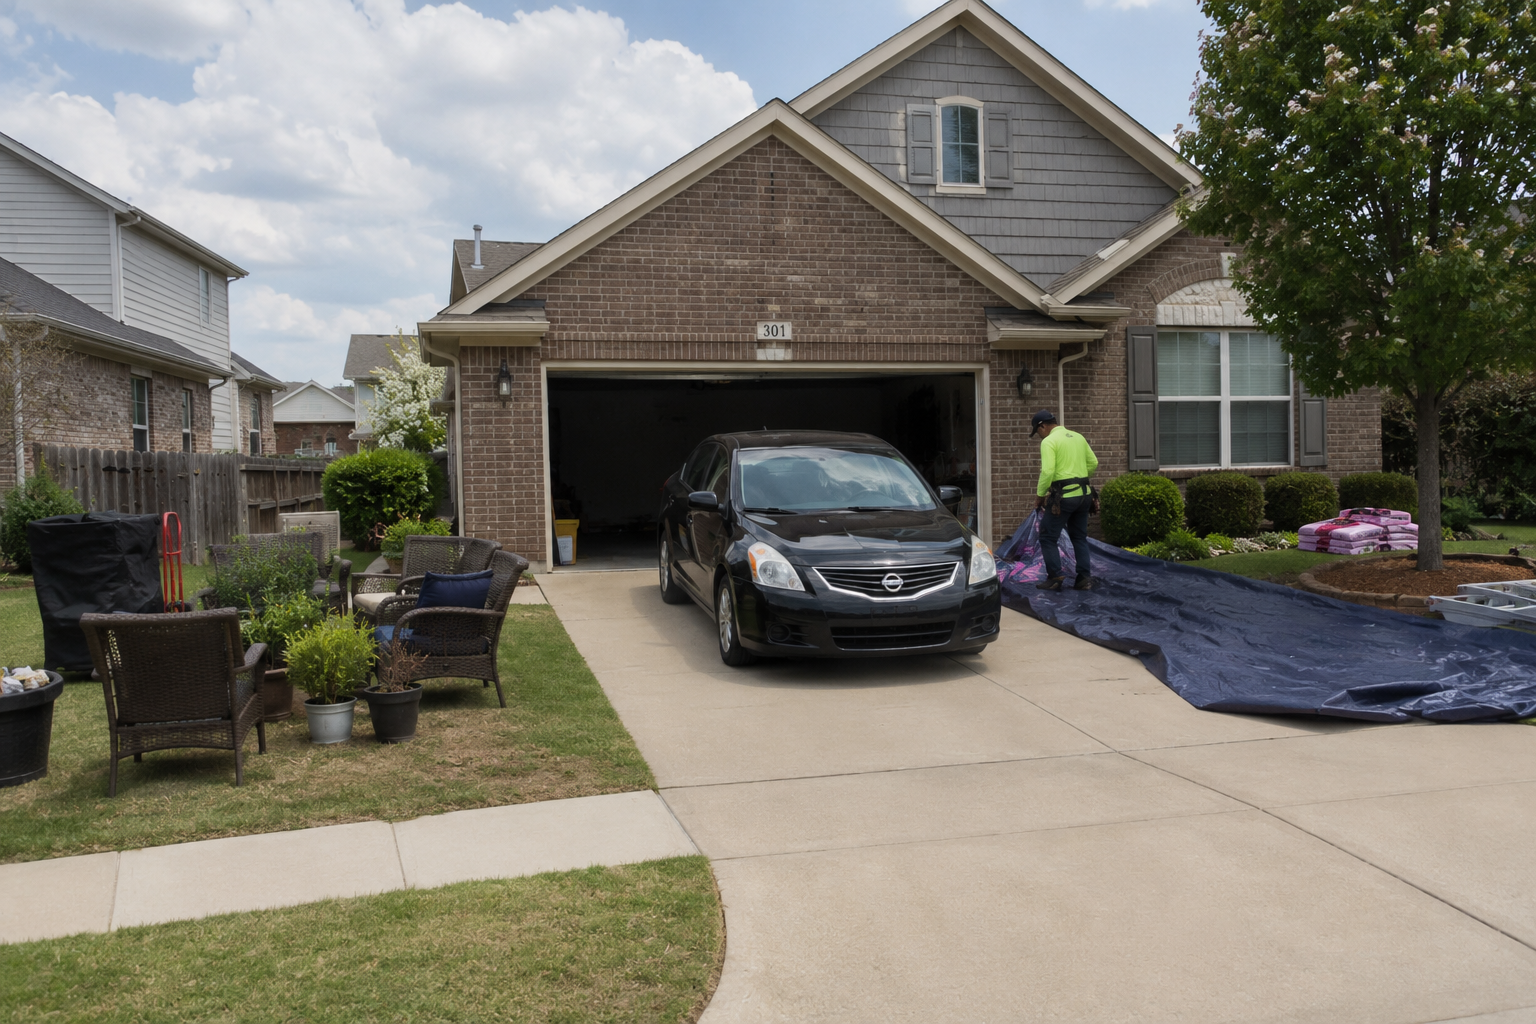
A little preparation on your end makes installation day go faster and protects your belongings. Crews will be working above your home for a full day or more, so a few simple steps help everyone stay safe.
Before your crew arrives, plan to:
Not necessarily, but the crew will need clear access to your yard, driveway, and any exterior outlets. Many homeowners choose to be home for the start and end of the job so they can ask questions and do the final walkthrough in person.
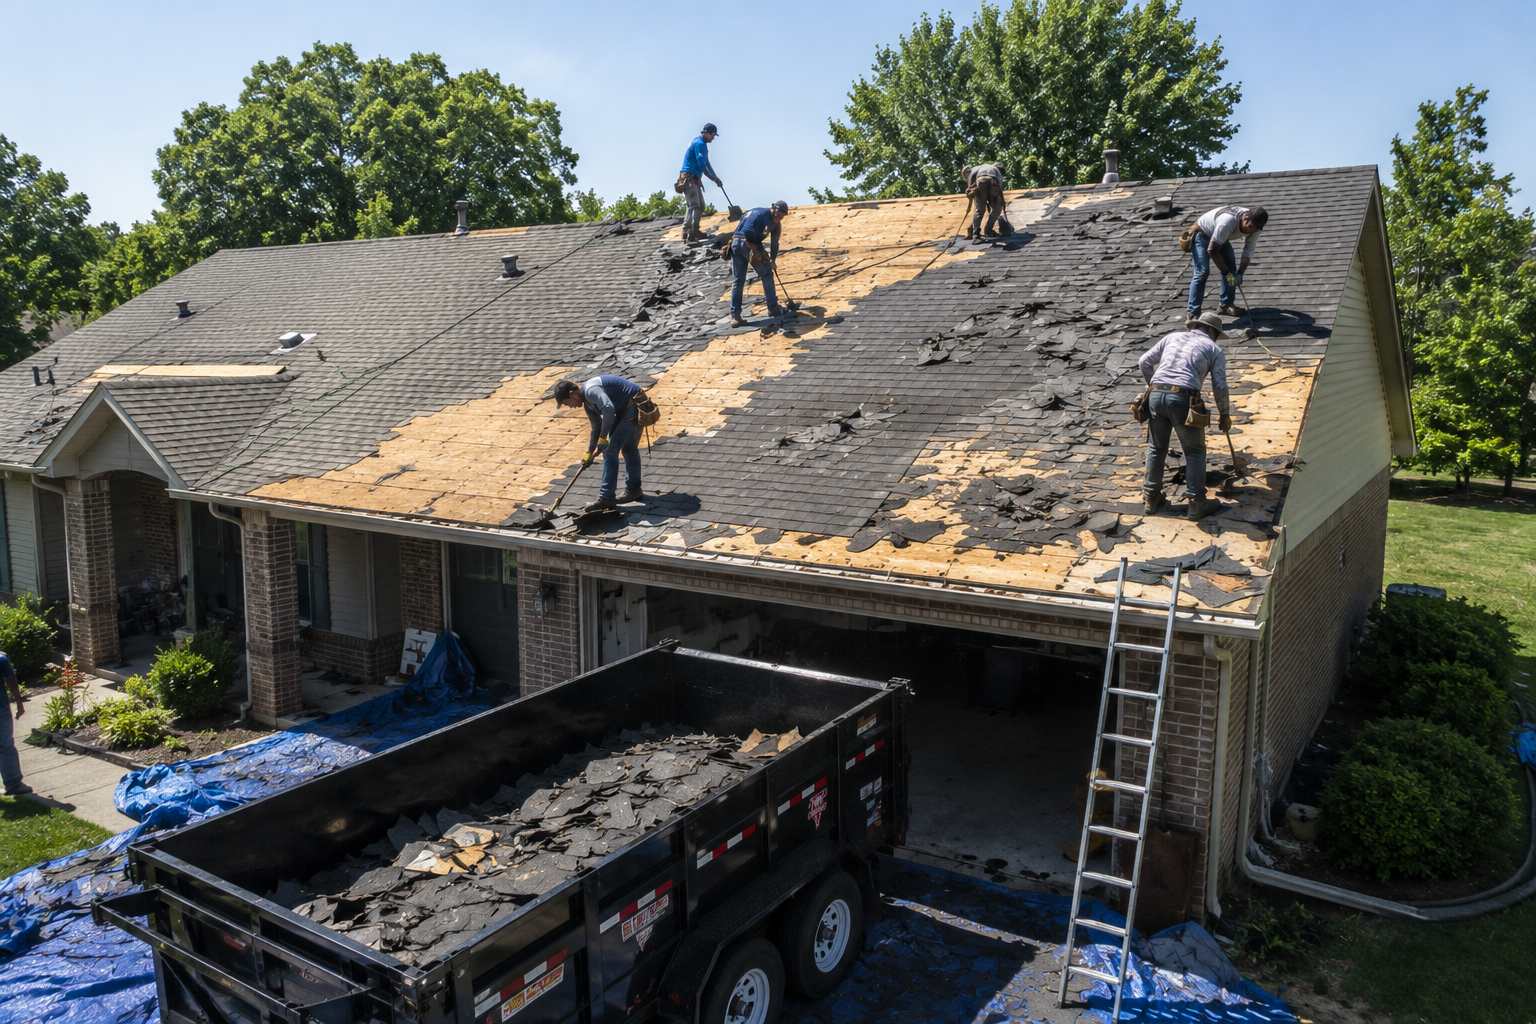
Complete tear-off down to the decking is the standard, code-compliant approach for a full replacement. Simply layering new shingles over old ones hides problems instead of fixing them.
During tear-off, the crew will:
For a standard single-story home, tear-off typically takes a matter of hours rather than days, full project timelines are covered further down.
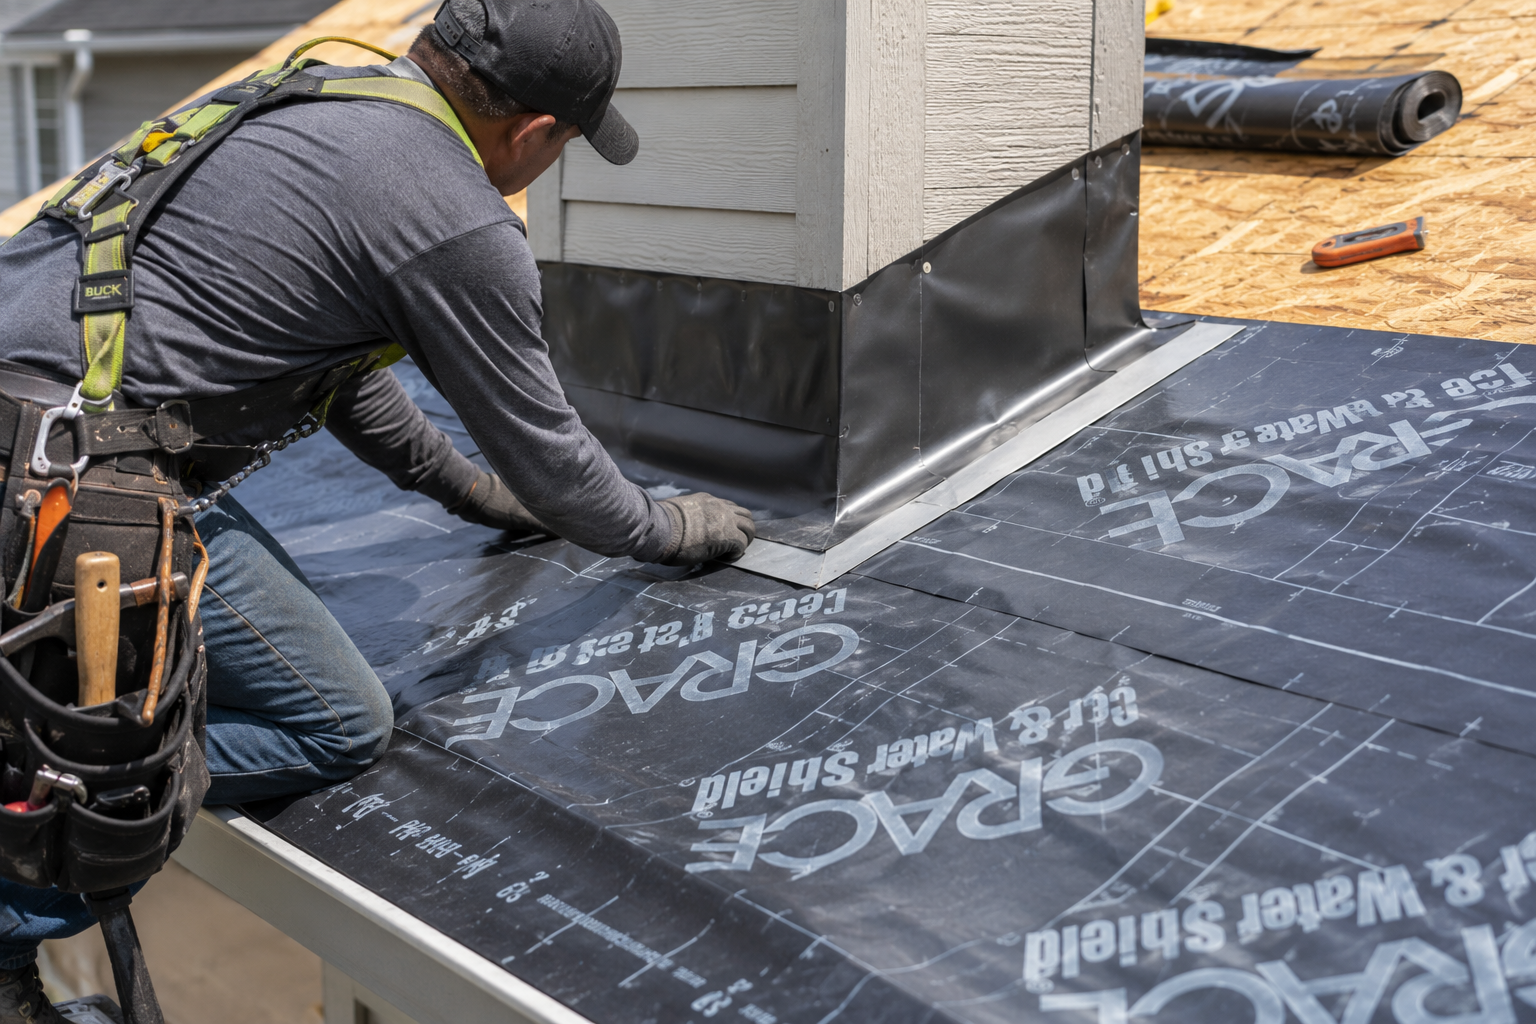
This is the most important “hidden” step in a Wisconsin roof replacement.
Once the decking is exposed, your crew can finally see what’s really going on underneath, and in Wisconsin, ice dam damage is common even when the roof looks fine from the ground.
During this step, your roofer will:
Heat escaping from your attic warms the roof deck, melting snow near the ridge. That water runs down to the colder eaves and refreezes, building up ice that can force water back under your shingles. Proper ice barrier underlayment, combined with good attic ventilation, is what stops that backed-up water from reaching your decking.
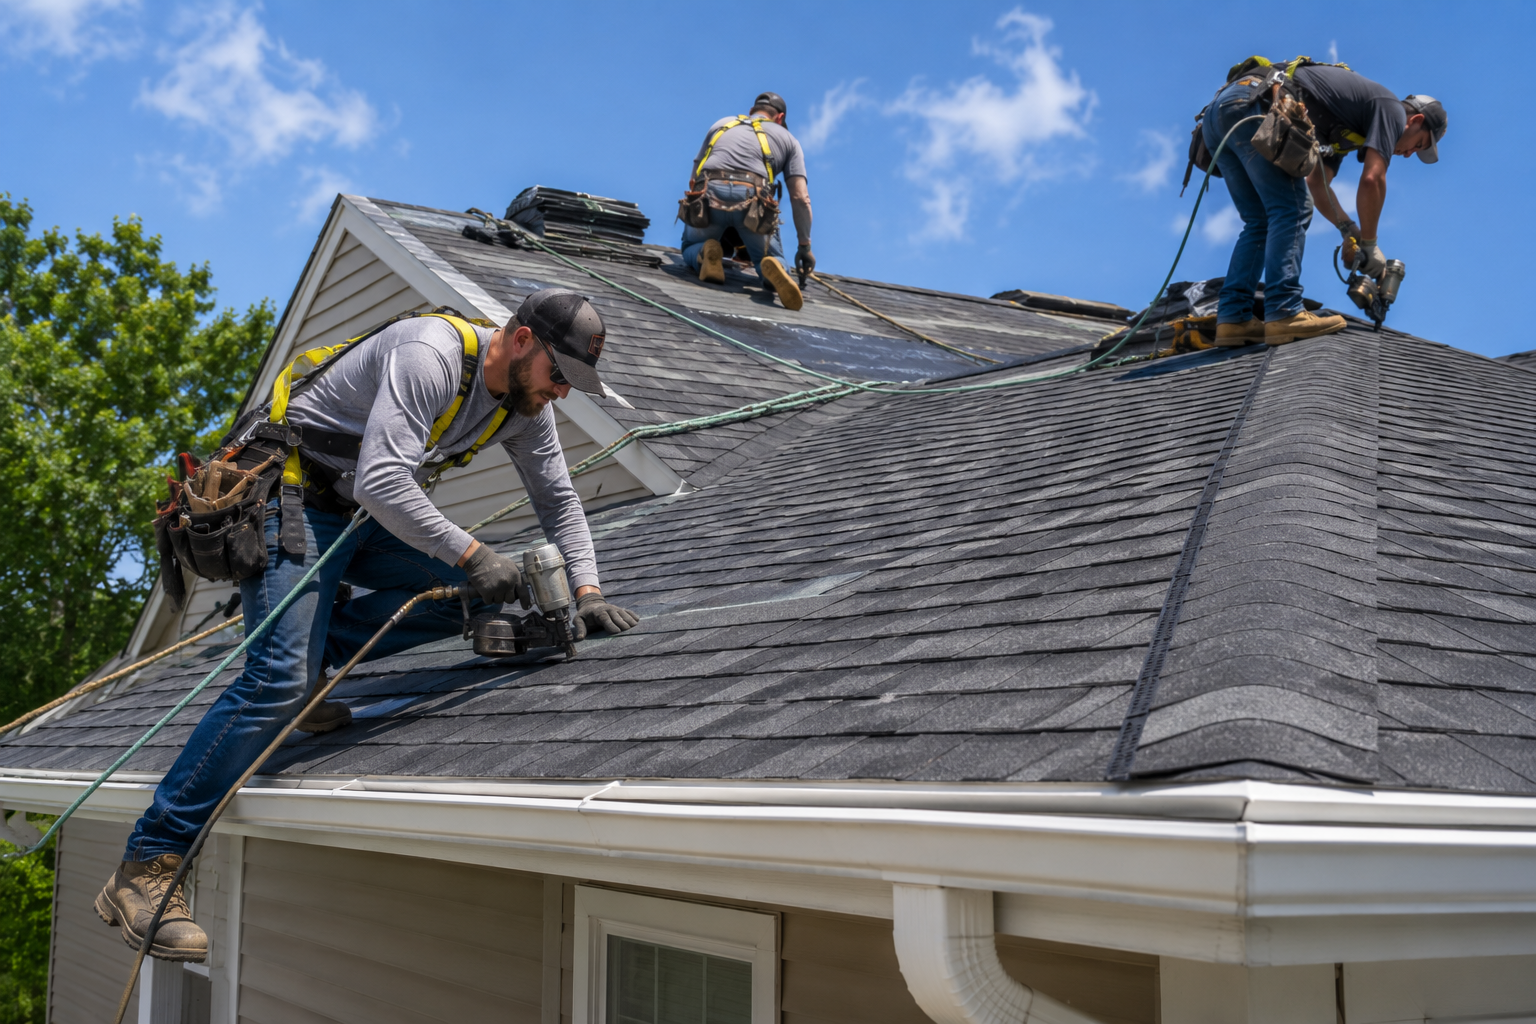
With the deck repaired and protected, the crew installs your new roofing material from the eaves upward. This is the most visible part of the process, and it’s where craftsmanship really matters.
A quality installation includes:
Why does ventilation matter during installation? Good attic ventilation keeps your roof deck at a consistent temperature, which is one of the best defenses against ice dams. It also extends shingle life by letting heat and moisture escape instead of building up underneath the roofing material.
Homeowners across our residential roofing projects consistently ask for extra attention here, it’s the difference between a roof that looks good and one that performs well for decades.
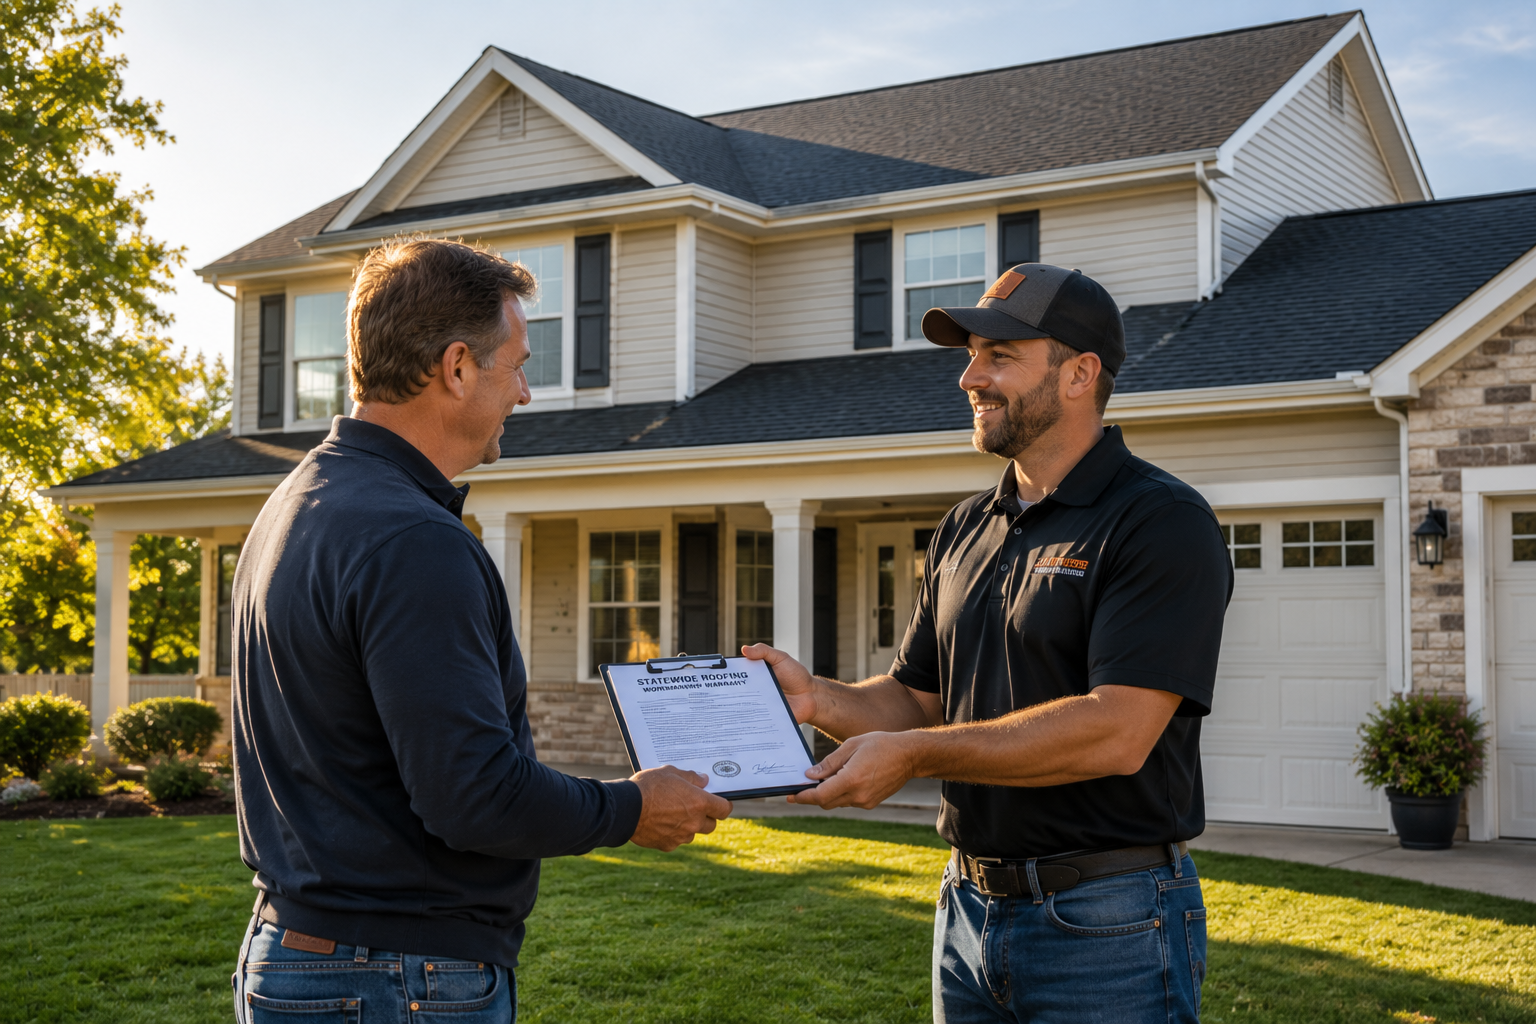
Before the crew leaves, you should get a full walkthrough of the finished roof together. This is your chance to ask questions and confirm everything matches your contract.
A proper close-out includes:
Most residential roof replacements in Wisconsin take one to two days, depending on the size and complexity of the job. Larger homes, steep pitches, or extensive deck repairs can extend that timeline.
| Roof Type | Typical Timeline |
| Standard single-story home | 1 day |
| Larger or multi-story home | 1–2 days |
| Steep pitch or extensive deck repair | Up to 3–4 days |
| Weather delays (rain, snow, high wind) | Add 1+ days as needed |
According to roofing timeline data for the Midwest, most residential replacements take one to two days when weather cooperates. Weather is the biggest variable in Wisconsin, so a little flexibility in scheduling always helps.
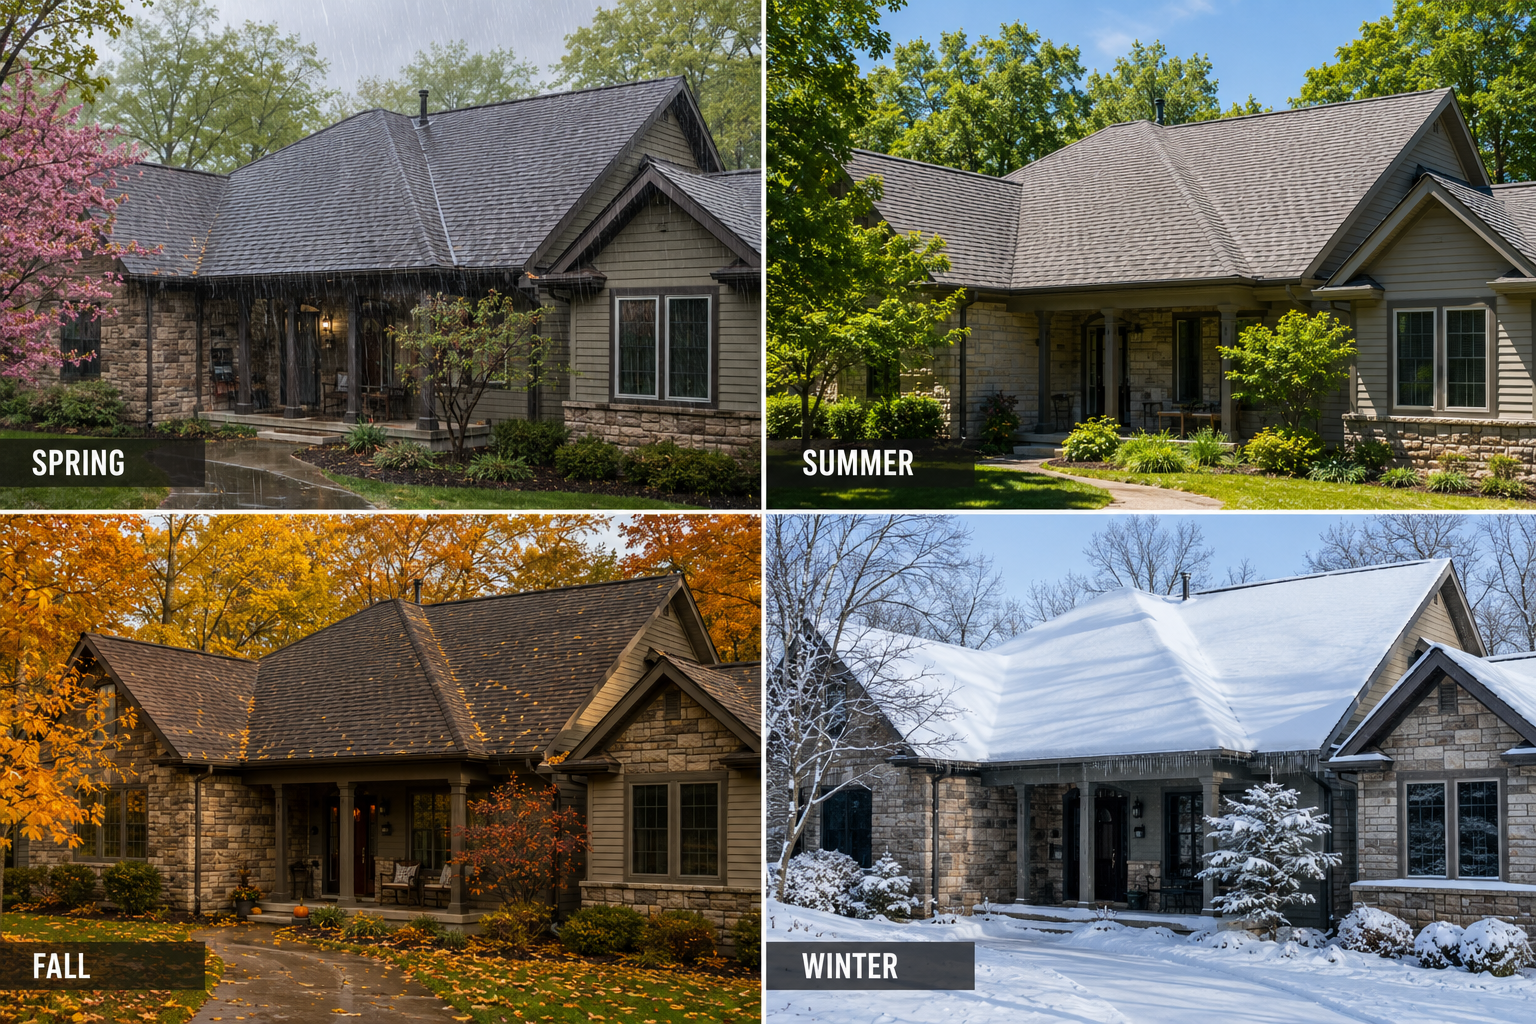
Late spring through early fall — roughly May through September — offers the best conditions for a Wisconsin roof replacement. Asphalt shingles need stable temperatures between 40 and 85 degrees to seal properly, and that window matters more here than in milder climates.
Here’s how the seasons compare:
A roof replacement is a major investment, but understanding the process makes it easier to plan with confidence. At Statewide Roofing Specialist, we guide homeowners through every stage, from the initial inspection to the final walkthrough, ensuring your roof is built to withstand Wisconsin’s snow, ice, and freeze-thaw cycles. Our experienced team focuses on quality workmanship, durable materials, and code-compliant installation for lasting protection. Contact us today to schedule your free roof inspection and take the first step toward a reliable, long-lasting roof.
Most Wisconsin homeowners pay between $8,500 and $18,000 for a standard asphalt shingle replacement, with the average landing around $12,500 for a typical 1,800–2,200 sq ft home. Costs run higher for premium materials like metal or synthetic slate, or if deck repairs are needed once tear-off begins.
Most residential roof replacements take one to two days for a standard single-story home. Larger or multi-story homes, steep pitches, or extensive deck repairs can extend the timeline to three or four days, and weather delays can add more.
Late spring through early fall, roughly May through September, offers the best conditions. Shingles need stable temperatures between 40 and 85 degrees to seal properly, and many roofers consider fall the sweet spot for cool temperatures and getting ahead of winter.
Not necessarily, but the crew will need clear access to your yard, driveway, and any exterior outlets. Many homeowners choose to be home for the start and end of the job so they can ask questions and do the final walkthrough in person.